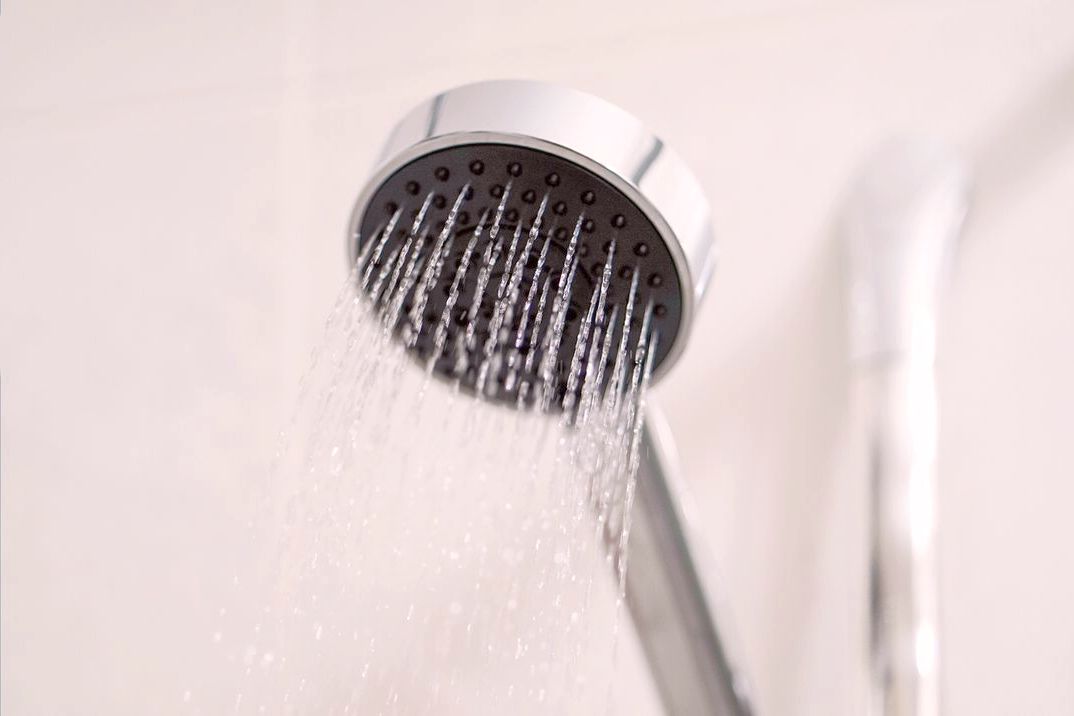
A leaky shower is a major source of frustration for most homeowners; the constant sound of water droplets hitting the shower pan or bathtub is a real nuisance. Not only that, a significant amount of water is wasted, leading to higher water bills and possibility of mold infestation. Some of the potential causes of a leaky shower include a clogged showerhead, worn out shower gasket, or faulty joint at the shower arm.
If you can identify the root cause of the leaky shower, you can fix the problem relatively easily. Hiring professional services to fix your leaky shower can be expensive, often requiring a plumber to disassemble the entire shower unit or bathroom fixtures. However, with the right knowledge and tools, it’s possible to repair the problem yourself with minimal effort, cost and mess. All you need is the right tools, such as pipe wrench, Teflon tape, and a guide that will show you how to repair the leak on your own.
We’ll share the simple steps you need to follow in order to fix the leaky shower, seal the leaks and bring it back to its normal state, so you can enjoy a relaxing shower once again.
How To Fix A Leaky Showerhead Or Faucet

Fixing A Showerhead
Turn Off Main Water Source
Before you begin fixing the leaky shower, the main water supply to the house should be shut off. There may be some water left in the pipe; you must drain them before continuing.
Remove The Showerhead And Inspect
Most shower heads can be removed easily with a hand; you need to unscrew them gently from the pipe with your hand. Sometimes you may be unable to unscrew it because the head is stuck. This is because it hasn’t been removed for a long time. If that’s the case, use a crescent wrench or pliers to unscrew it. Don’t force anything when unscrewing the showerhead and when placing it back. Also, don’t screw it tightly to avoid cracks and damage.
After removing the showerhead, you should take a look at the threads inside and look for a Rubber O-Ring or a small plastic washer. When these components wear and tear due to age, they cause the shower to start dripping water. When they’re damaged, they become brittle and dry, and their ability to hold water decreases as well. If you notice the O-Ring is damaged, it should be replaced. The problem will be fixed if that’s the cause of the leaky shower.
Clean The Shower Head
After replacing the damaged components, you should clean the shower head. This is a must if you are already experiencing a decreased water flow from the shower. You’ll notice sediments and mineral deposits left by hard water inside the showerhead or at the joint connecting the pipe and shower head. These deposits will affect the water pressure, which will also affect the flow of water in the showerhead to cause water drips.
You need to prepare a simple solution in the kitchen that will wash off unwanted deposits in the shower. You should mix 3 cups of Vinegar and water in a small pan or cooking pot. Heat the mixture to a boiling point, and then turn off the heat. Place all the showerhead components inside the boiled Vinegar solution with the exception of plastic components.
Add them to the solution for up to 30 minutes. Remove the items, then use an old toothbrush to scrub the components (both inside and outside). Continue scrubbing until no deposits are remaining on them.
Tape It Up
If the O-Ring or Washer isn’t faulty, or you have purchased another one, the threads on the pipe stem should be wrapped with Teflon Tape. Don’t overdo it; you should apply a thin strip of the threads at the pipe stem’s tip.
Reattaching The Showerhead
You can now reattach the showerhead and screw it gently with your hand until you cannot turn it. After using your hand, you should add a final turn with pliers. Don’t apply much force, as mentioned previously, to avoid damage to the pipe or showerhead.
Turn ON Your Water Supply
Since you have turned off the water supply from the beginning, you should go back and turn ON the water source. Then you can run the shower and turn it off. Wait for some minutes to see if water drips are coming out. Hopefully, you should be able to fix the problem by now since you have cleaned the showerhead and the O-Ring or Washer was fixed.
Fixing Shower Faucet
After following the steps above, water is still dripping from the shower; the problem might be from the faucet. That’s what you need to focus on in order to fix the problem. The faucet can be faulty if the shower stem has a worn-out washer. Follow the steps below in order to fix the shower faucet.
Turn Off the Water Supply
Just like you did previously, switch off the main water supply in the house. There will be some water in the faucet, and you need to drain them out by opening it. Have a towel or a cloth you can use to soak some of the water released from pipes after removing the faucet.
Disassemble The Faucet
The type of faucet you have will determine how you’ll disassemble it; you either have a 1-Knob or 2-Knob style faucet. For the two-knob style, you have to replace the two valves. Use a crescent wrench and a screwdriver to remove the valves by unscrewing them. Then you take out the shower faucet handles or knobs, the guard out and place it aside. There should be 2-nuts (small and big); unscrew the bigger one (you only need to remove one to reach the shower stem. The shower steps can now be removed; you need to unscrew them in the anticlockwise direction. If you have a Kohler Shower Handle, check out this guide on how to remove it.
Replace The Washers
The shower stem has multiple washers; you should replace them with new ones. Make sure to change them all, regardless of their condition. At the tail of the stem, you should see the rubber washer, which is called the “Seat Washer”. The remaining washer can be found at the center of the stem. They’re known as the “Packing Washers.”
Clean The Faucet And Assemble
Mix Vinegar and water in a cup; use the solution on areas on the pipe where you see deposits. Use a toothbrush to scrub mineral deposits found on the pipes. Place back the shower step, screw the valves, and place back the knobs in their positions. Check to see if the problem is fixed.
How To Replace Shower Faucet
After working on the showerhead and faucet, but you’ve yet to resolve this annoying problem, the next step is to replace the new faucet with a new one. Replacing the old faucet with a new one can be the only solution to an ailing shower.
A licensed plumber is required for this task, but a layman can still execute the project by following simple steps. Before we move on, you should understand that different faucets have different replacement methods. The steps outlined below are general steps for replacing the shower faucets.
Get The Right Size
Different styles and sizes are available; however, not all of them are interchangeable. You must find the correct size that’s suitable for your replacement. The faucet should also come with installation instructions provided by the manufacturer in the manual so that everything is connected securely. Don’t forget to take the old one to the retail store, and also take hole measurements of the faucet with you while going to the store.
Removing The Old Faucet
Most houses have an access panel, and the chances are you too have it. You’ll find it on the wall opposite the faucet; it allows homeowners to work on the internal aspects of the tub. If you can’t access this panel, you must cut through the wall opposite the shower faucet to remove the old one. You will need a keyhole saw to cut a rectangular or 12-inch square hole into the wall. It should be directly opposite to the faucet.
Use a pipe wrench to take out the base of the faucet; you’ll unscrew the nuts used to fasten it with the shower fixture. You have to remove the faucet from the water pipes completely. Avoid turning or twisting pipes to avoid damage.
Installing The New Faucet
After removing the old faucet, you can now install the new one. The new faucet should be inserted in the shower pipe, the kit should line up, and you’ll use a pipe wrench to fasten it. You must check the manufacturer’s instructions when installing the new faucet. You will have all the information you need to hook the new kit.
Turn ON Water Supply
When the new faucet is installed, you’re now set to use the faucet. Switch ON the water supply and check the leaks. If you notice even the slightest drips, you should tighten the screws and nuts to ensure everything is secure and tight. By now, you should fix any leaks. However, if the problem isn’t solved, you should remove the faucet again and start the installation again. Don’t repair the wall until the problem is fixed.
Patching The Wall
After fixing the leaks, you should fix the large hole in the wall with the appropriate method. Depending on the hole size and the type of wall you have, there are different methods to patch holes on the wall. A Simple search online will reveal the ideal option for your wall repair.
FAQs
Where Is A Shower Leak Most Likely To Occur?
You’re more likely to find leaks between the wall and tray joints. Shower tray movement, sealant problems, poor adhesive use, or mold present inside the sealant can cause the leak.
What Happens If Water Leaks Inside The Tiles?
Most homes use drywall behind the shower tiles; if that’s the case, the drywall will suck the water. The drywall will expand, which causes pressure on the tiles behind the shower. Eventually, the tiles will crack and get damaged.
Why Is My Shower Leaking On The Floor?
The leading cause of this is building movement, which causes cracking and weakening of grout. The waterproof membrane under the tiles gets damaged. This typically happens between the wall joints and the shower recess floor.
What Damages Can A Leaking Shower Cause?
Most people often ignore a leaking shower without knowing it can cause severe problems such as encouraging mildew and mold growth, or creating damp conditions inside the foundation. It’s better to address the problems fast before they leak and can cause further damage.
Can I Take A Shower If There Is A Leak?
If the leak is minor, you can go ahead and have your shower. But If the problem is severe such as a leak coming from the tank, it’s best to resolve it first before having your shower.
You may also want to read these:
- How to remove Kohler shower handle.
- How to Fix a dripping faucet
- How To Choose the best tankless heater.

