

Installing a ceiling fan can seem difficult, but it’s actually straightforward. Whether you want to install a new fan or replace the existing one you have, it can be done within some hours if you have the right tools and you know a little bit of know-how.
You can easily do it yourself if you don’t want to pay for costly installation services. This will not only save you money, but you will have the satisfaction of knowing you made the installation yourself. You need the right tools and spare time to begin the installation. This article will show you how to install a new fan in your room easily.
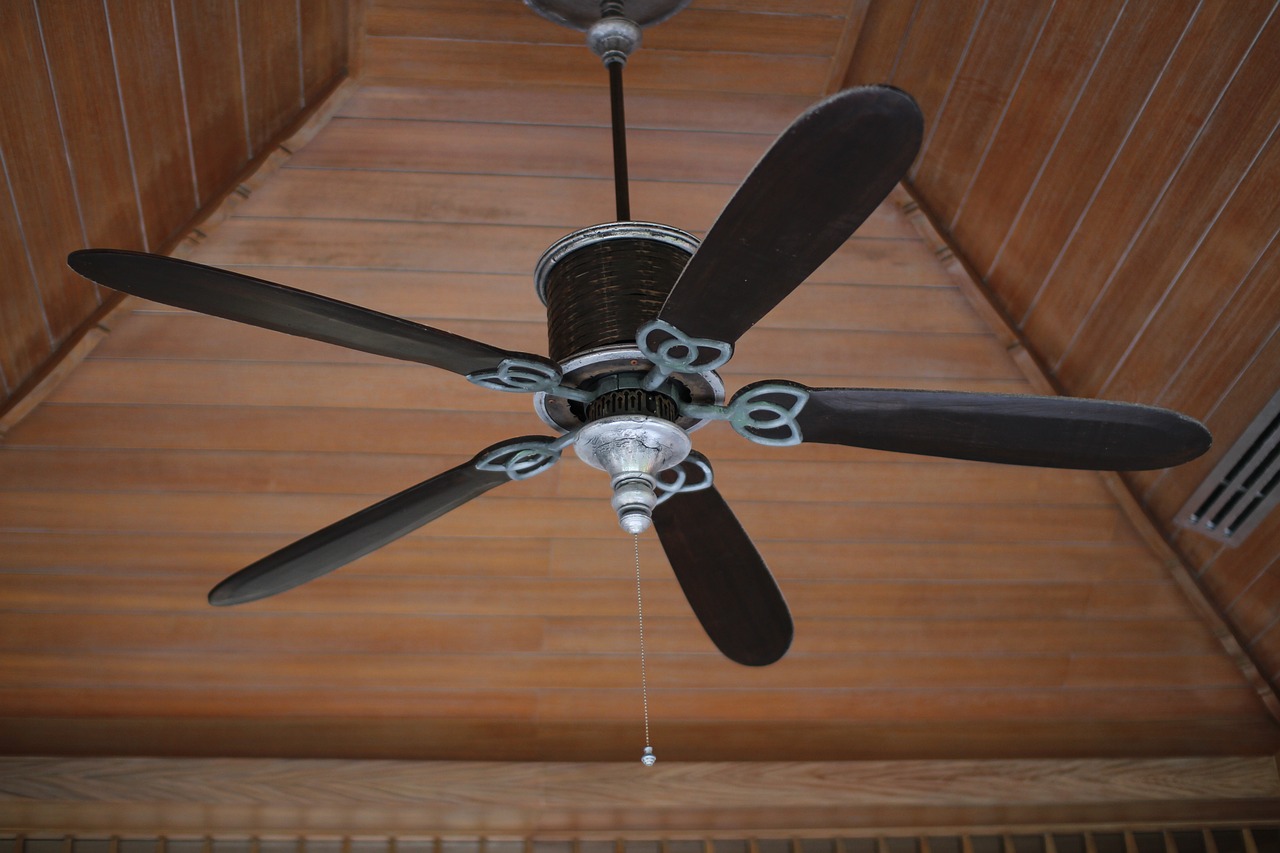
Components Of Ceiling Fan And Functions
Before you begin the installation, you should be familiar with the different parts that come with your ceiling fan package. Let’s take a look at them briefly.
- Electric Box; This is where the wiring for the ceiling fan is connected; all the fan wiring is housed in the electric box. If you already have an existing fan, you may not need another electric box, provided it can hold the weight of your fan. You have to check the weight specifications.
- Bracket; This is the metal that’s responsible for holding your ceiling fan. The electric box is placed inside the ceiling, and the bracket is connected under it below the ceiling.
- Motor; This is the force that drives the ceiling fan. It’s the hub where you can also turn ON/OFF switches.
- Cowl; Covers the motor and bracket, this is the metal that goes over them, and it’s for aesthetics.
- Light kit; it’s connected to the motor with 2-3 wires and has light bulb sockets. Installing a ceiling fan with a light kit is mostly the same as without, you just have to connect light wires differently.
Tools You Need For Installing A Ceiling Fan
- Power drill.
- Screwdriver (4 in 1).
- Ladder.
- Wrench.
- Drill bits.
Materials You Need
How To Install A Ceiling Fan In Simple Steps
If you want to add a new fan to your room or look forward to replacing the existing one, you can do it by following these simple and easy steps.
Clear Your Room
You don’t want unnecessary items in the room since you’ll use a ladder to climb during the installation. Clear the room to provide a comfortable working space and a place to keep your tools and materials so that they are easier to reach when you need them.
Letting other items not required during the installation can pose safety threats when you are up working. Anything that can distract you should be removed; these include your pets, kids, and others. For maximum safety, you need to clean the area and eliminate any potential distractions.
Ceiling Preparation
After clearing the floor, the ceiling must also be cleared to ensure that the fan can move freely without any obstruction. You have to ensure proper wiring connecting the switch and installation spot. Check the ceiling to ensure adequate support for the fan; if a special permit is needed, you should consult the right entities or authorities involved. If you’re unsure about this, you might want to call a professional for proper guidance.
Cut The Circuit You’re Working On
Before you begin the installation, you need to shut down the power in the room or section you are working on. You don’t want to be electrocuted along the way, which can cause severe injuries. Safety comes first in whatever you do, so you must cut off power in the section you’re working on.
Place The Mounting Bracket And Junction Box
You should grab your ladder, the mounting bracket, and the junction box. After climbing the ladder, you should start installing the junction box of the ceiling fan. You should have a hole in the ceiling where you will insert the brace; you need to twist it, so it locks in place with the ceiling joist. The next step is attaching the U-bolt bracket to the center bolts and facing outward. You should attach your cable wire and also move up the junction box.
On the side, you can see bolts, and you need to secure them tightly. Use the junction box to alight the mounting bracket and then pass the wire through its center. Use a wrench to tighten the bolts securely. It’s important to right the bolts very well because the mounting brackets support the fan. Letting them loose means you’re risking the fan falling, which is something you don’t want at any cost because serious damage will occur.
Installing The Down-Rod
The next thing to do is place the down rod; The rod extends downward from the ceiling and will hold the fan; this is the piece that will be attached to the fan canopy. You have to secure it very well to avoid any potential threats.
You want to make sure you have the correct size for the fan, and you want to make sure it’s set at the correct angle. Setting the angle too sharp means you have to restart the installation. You must make the right adjustments before installing the fan; this will help you gauge the angles correctly.
Installing The Ceiling Fan
For safety reasons, when installing the fan, you might need someone in the room to support you when you’re there installing the fan. Once you have all the support you need, you should then connect the ceiling and motor wires based on the color wiring. After connecting them, you should nudge them inside your junction box. The ceiling plate should then be attached to the mounting bracket. Use a power tool or a screwdriver to secure it tightly.
Installing The Fan Blades
Installing the blades is the last thing to do; you must follow the user manual instructions that come with your package. They will guide you through all the steps and specifications required. You will also need someone to pass the blades safely while you’re on the ladder. Ensure the blades aren’t altered in any way; you should avoid exerting any force on them before they’re installed. You will have all the instructions in the fan manual; use these instructions to install the blades.
Safety Rules For Installing A Ceiling Fan
It’s important to follow some basic safety rules if you want to execute your project smoothly. You don’t want to spend hours installing the fan and then realize the blades dislodge. Not adhering to these rules can cause personal and property damage, or the fan might not even work in the place after installation. Here are important rules to note when installing a ceiling fan;
- The space between the ceiling and the fan should be at least 8-10 inches.
- There should be a minimum of 18 inches between the blades and sides walls or any other obstruction in the area.
- Make sure the fan blades are hung a minimum of 7 feet above the ground, and the fan should be hung at 8-9 feet.
- If the ceiling is very high, or if a sloped ceiling is used, you will need a longer down-rod.
FAQs
Can I Install A Ceiling Fan Myself?
Yes, you can do that all by yourself, and it’s a perfect weekend project anyone can execute at home. You need to spare a few hours during the day, and you’ll save some money by hiring a professional to do it for you.
Is It Difficult To Install A Ceiling Fan?
It’s relatively easy to install a new ceiling fan; if you have the tools and your package is ready, you can begin the installation if you follow the simple guide shared in this post.
Do You Need A Professional To Install A Ceiling Fan?
If you know the instructions, a professional isn’t required for a fan installation as most people assumed. If you realize things are out of control, you should invite a professional to make the Installations for you. If you also don’t have the time and can afford to hire a professional, you can also do that.
What Is The Cost Of Installing A New Ceiling Fan?
It depends on your area and the work involved. However, a typical ceiling fan installation costs around $60-$250. Professionals can install it in just one hour or more; they can do it faster than you can.
What Do I Need To Know Before Installing A Ceiling Fan?
You should know the space between the ceiling and the fan, the space between the blades and walls, and the appropriate length of down-rod required for the installation. Check the specifications mentioned above in the safety rules section.
Can A Ceiling Fan Fall?
Yes, it has the potential of falling if not installed properly. Some defects can arise, and if the bots are not secured tight, there is the risk of falling. Make sure everything is in place as it should be, and you can use any ceiling fan in your room. Make sure there is enough space and it’s maintained properly.
How Do I Make Sure My Ceiling Fan Is Secure?
The electrical junction box used to support the fan should be specifically designed for ceiling fans. Also, you have to use a fan brace box to secure it.